|
Learn how to replace a boring sky with a sky that is more vivid, bright and also colourful. It is one of the best technics in photoshop. In this video below the most easy technic is shown. There are other technics too to replace a sky in photoshop. But this one is the most easiest and most accurate. In case you missed some steps, the steps are given below:-
1)Open the photo in which your sky is boring 2)Drag and drop the sky that is better one over the first photo and nicely place it (you don"t have to be too much accurate). N.B.- carefully merge the horizon. And after you finished placing it tap Enter. 3)Now right click on the new layer (the layer at which your bright sky is present) and go to blending options. 4)Inside Blending options turn the BLEND IF option to blue and now click the left nob of the UNDERLYING LAYER bar and slowly move it to the right. After finishing tap OK. 5)If there's a little bit sky blended in the area you donot want. Make a new layer mask and select the brush tool to erase it off. Like, comment and subscribe to stay updated with Learn it Easier. Let's Be Friends:- Follow Learn it Easier on twitter at http://www.twitter.com/learniteasier
0 Comments
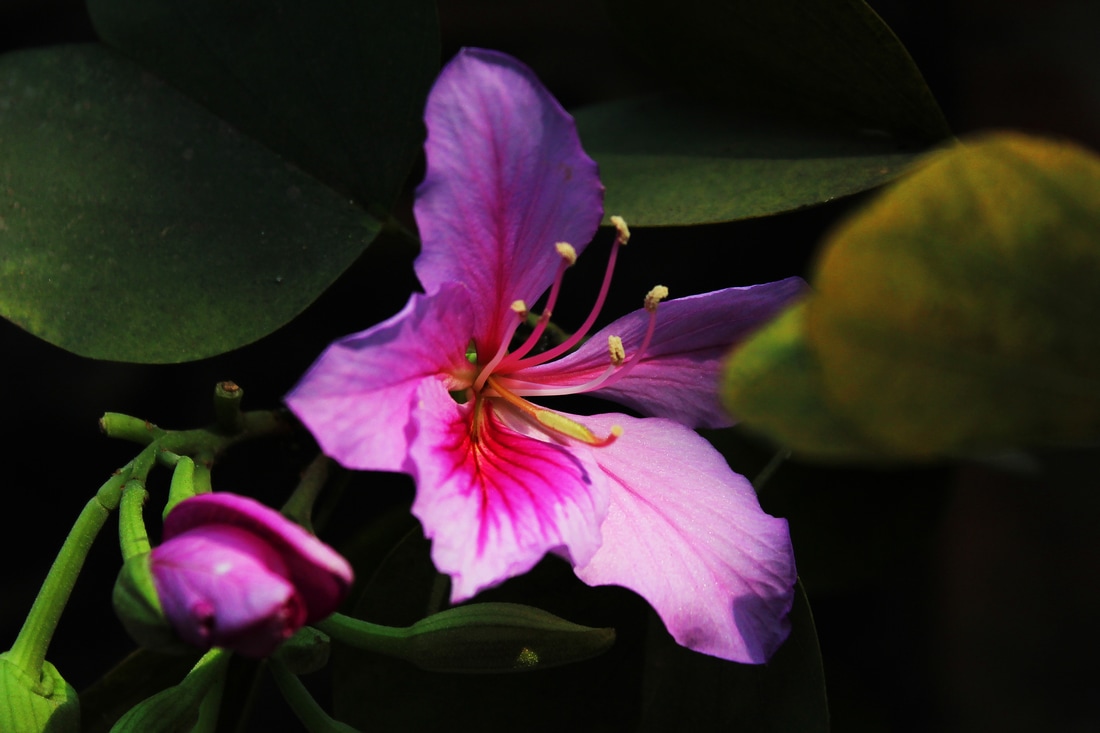
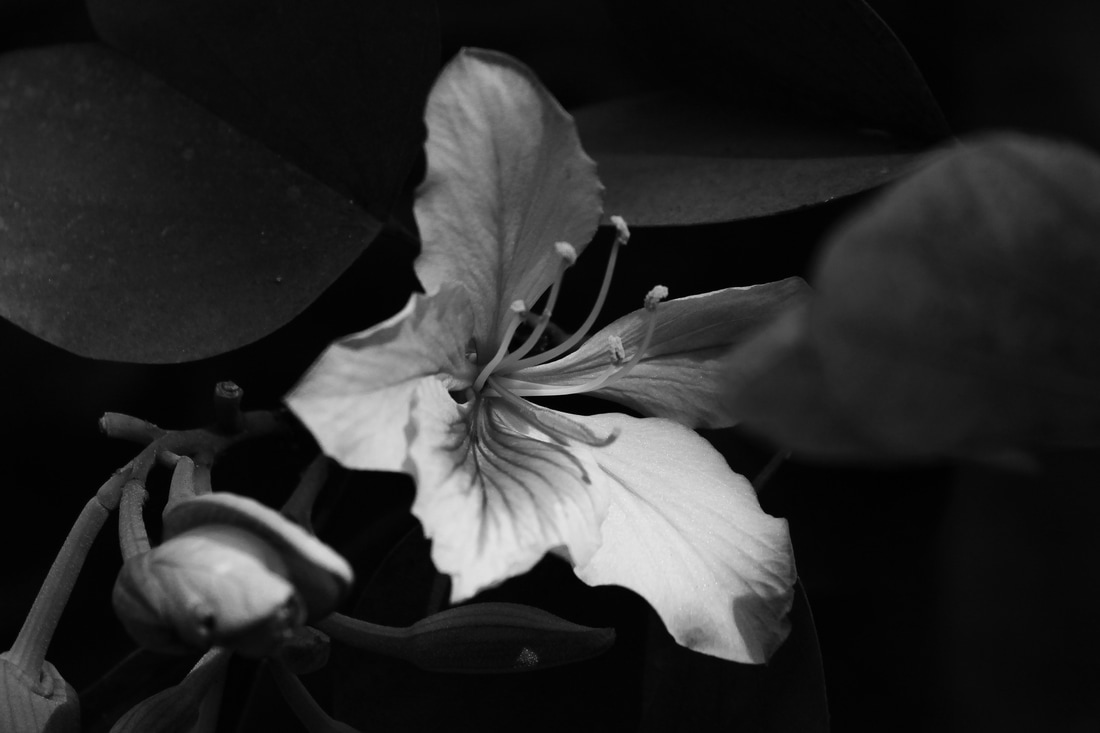
THE POWER OF FREQUENCY SEPARATION. LEARN HOE TO DO FREQUENCY SEPARATION IN PHOTOSHOP EASILY...21/5/2017 Portraits are in the list of trends nowadays. We take selfies tooo. but we dont know the best way to retouch them. There are many ways for retouching them. But FREQUENCY SEPARATION is the unique technic where we can separate the colour and tone in a layer and the texture in other layer. So in this technic we can retouch texture without affecting colour and tone and vice-versa. It sounds a bit complex but it can be easily learnt just we need a little bit of practice. A jest of the steps are given below:- 1. create two layers and name them as colour and tone , and texture respectively. 2. turn the texture layer invisible 3. now select the colour and tone layer and put gaussian blur in it so that you cannot see the smudges in it. 4. now turn on the texture layer and go to apply image and choose layer as colour and tone layer and choose the bending as substract and set the scale to 2 and offset to 128. REMEMBER THIS STEP 2128. now apply it and choose the blending mode to linear light. 5. Now click the colour and tone layer and wit the lasso tool select the smudge areas and put guassian blur int those so that the smudges are all erased and your image becomes smoother. 6. Now select the texture layer and select the clone stamp tool9hit S in the keyboard) and hit alt and select a smoother area and clone stamp the dirts on the texture. WOOOHOOO!!! NOW YOU ARE AN EXPERT OF RETOUCHING POTRAITS. THANK YOU FOR WATCHING THIS VIDEO. HOPE IT WOULD HELP YOU. SMASH THE LIKE BUTTON IF YOU LIKE IT AND HIT THE SUBSCRIBE BUTTON AND THANK YOU AGAINNNN. Prasun BhattacharyyatWhen I submitted these two photos seperately I found how colour matters in our life. The b&w one felt little bit sad, lonely, tormented but the pink one,,, It signifies love, passion, dream.. And both are two different poles..
Prasun BhattacharyyaAs a beginner you have to know three things of a Digital SLR to start you photography game.For a beginner it seems hard to shoot with the manual settings. But if you know about the three fundamental keys of a DSLR i.e. Aperture, Shutterspeed and ISO, then its actually nothing to operate it. So lets get started..
Aperture: It determines the amount of light entering through the lens of your DSLR. It is also denoted as the F-stop number( example- f2.8 ). Lower the f-stop value higher the light entering the lens and brighter is the image. It is good to have a lens with lowest f-stop number if you shoot at night. The aperture also tells us about the amount of dept of field. Dept of field is the amount of blurryness behind the subject. Higher the Dept of field more blur is the background and hence the subject is more sharp. And that is why we take portraits with the low f-stop value available. Shutterspeed: It is the amount of time the shutter in front of the sensor of the camera remains open. Longer the shutter remains open, longer the light falls on the sensor and the image gets more bright. But sometimes we have to shoot a faster moving object such as a humming bird, if you want to capture the bird sharply keeping all its flaperring wings still then faster shutter speed is required but if you want to show the wings blurry then you have to keep the shutterspeed low. ISO: It determines the quality of your image sensor. Often we have to shoot inside a dark room where you have a small bulb or a tubelight as the lightning medium. At this situation you can increase the ISO it will increase the power of the sensor and the image will be well exposed. But you have to keep in mind that higher ISO can make your images grainy which can be later post-processed in Photoshop. Now its your turn to try out the manual settings. Just keep in mind that no ones perfect you have to practice it several times to get accustomed to it. |
 RSS Feed

